Good morning!
Hopefully by now you have checked out some of the goodies that I was able to share from our OnStage event and the upcoming Occasions and Sale-A-Bration catalogs that I shared yesterday. If you didn’t see anything you loved, just wait! The catalogs are full of amazing things, something for everyone!
Make sure you check back tomorrow as well, I will be sharing photos of my goodies that I ordered from the new catalog!
Onto Christmas cards!!
In this months class, we used the Star of Light bundle.
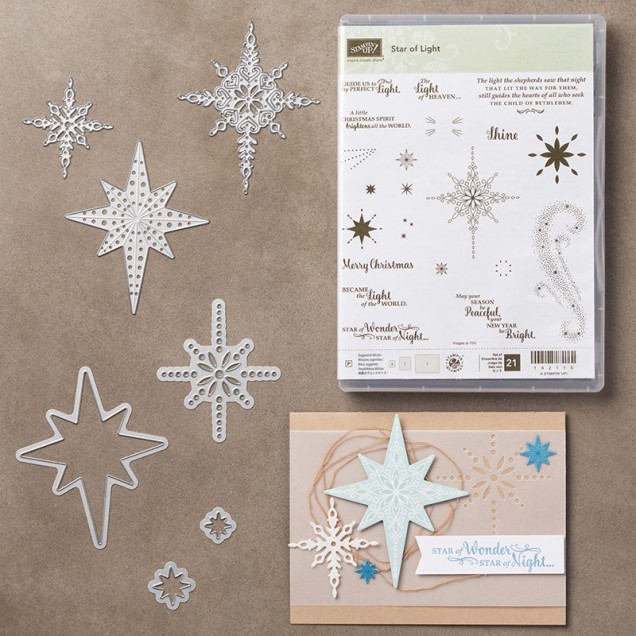
This bundle makes it so easy to make impressive cards!
In our class, each attendee made 12 cards, 4 each of 3 different designs.
The first card was my favorite I think.

Easy to do multiples of it and so much fun!
- Cut and fold an A2 card from Real Red cardstock
- Trim a piece of Whisper White to 5.25 x 4 inches
- Stamp the start swirl in Smokey Slate Ink in the center of the Whisper White cardstock
- Stamp each sentiment in the upper left and lower right corners using Basic Grey ink
- Die cut a solid star from Real Red
- Die cut the large ornate star from Silver Glimmer cardstock
- Die cut the smallest ornate star from Whisper White cardstock
- Adhere your stars together, largest on the bottom, smallest on the top
- Adhere star to the center of your Whisper White panel
- Adhere the Whisper White panel to the front of your Real Red A2 card
That is it!
I just love the look of the red and silver together!
Have a great day!

Your cards are very pretty!
LikeLiked by 1 person
Thank you Connie!
LikeLike
Beautiful… I agree about the the red and silver going so well together.
LikeLiked by 1 person